| IGES
import - Architectural modelling - Garden
Modelling Part 2
Load the file "Part 2 - Garden"
if you did not complete the first exercise.
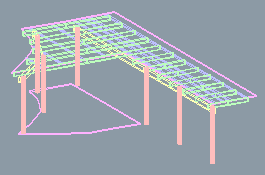
Make the house level 'wire invisible',
and the pergola level 'wire visible'. Set
the following depths:
Battens: -50
Roof: 40
Beams: 200 (one may be flipped the wrong
way)
Rafters: 150
Posts: -2100
All objects should end up being extruded
upward. Place a negative in front of the
values to flip as required.
Under the 'pergola roof' level is an object
that is actually the pergola decking. Rename
this object "Deck" and the other
"pergola roof".

Make the pergola level 'wire invisible'
and make the garden level 'wire visible'.
Under our 'garden beds' directory - give
all the objects a depth of 30. Select the
cross like object and move it out of the
'Garden beds' directory and under the 'garden'
directory - rename the object "Clothesline
top".
The last object under the 'Garden paving'
directory is the fence. Rename the object
"Fence", Place object under the
'garden' directory and set depth to 1700.
The rest of the objects under the 'Garden
paving' directory set to 100. Some may require
flipping.
Under 'garden walls' - the small square
is the clothesline pole. Set to 3300 and
rename to "clothesline pole".
Put under the 'Garden' directory.
Set the other polyhedron to 1100.
The last object is actually a Nurbs curve.
Select the curve - Extrude the object without
lids 1000 high. Put newly created extrude
level back into the garden walls directory.

Create a a nurbs mesh to represent the
ground plane: take a side view and draw
a sloping quadric curve. Duplicate 4 times
and Create a mesh from the 4 curves (X-sect)
call the mesh "Ground" and put
it under the 'Garden' directory.

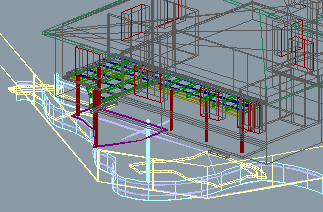
Drop all three main levels (house, garden,
pergola) to a level. Call the level "site".
Add a spot light high above the house.
Add a camera and view the model. Some objects
may require tweaking and slight positioning.
Add a slight level of transparency to the
pergola roof.
Change the color of the objects as you
see fit - using the color attributes for
now.

We will add textures in the next chapter:
Part 3 - Texturing.
|